1.8. NTLM認証設定
APMで行う認証の設定を行います。ここでは、NTLM認証の設定を行います。ADサーバ(ドメインコントローラ、DNS)の構築済みであることを前提としております。
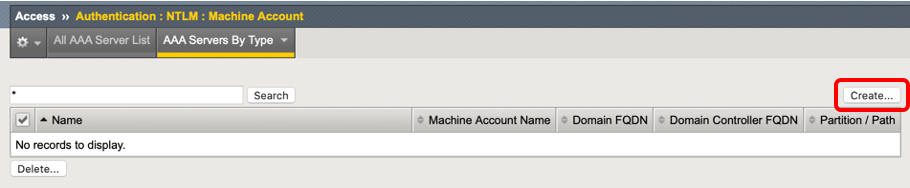
Access >> Authentication >> NTLM >> Machine Account を選択し、Create ボタンを押します。
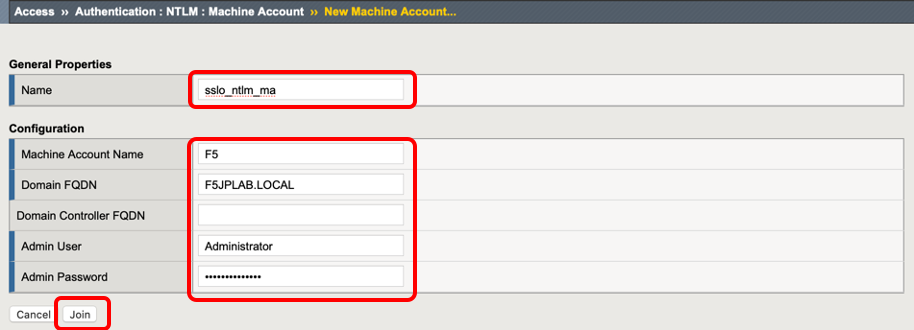
任意の名前 を設定し、Machine Account Name には 任意のSSLO識別名 を入力し、Domain FQDN、Adminユーザ名 と パスワード を入力し、Join を押します。
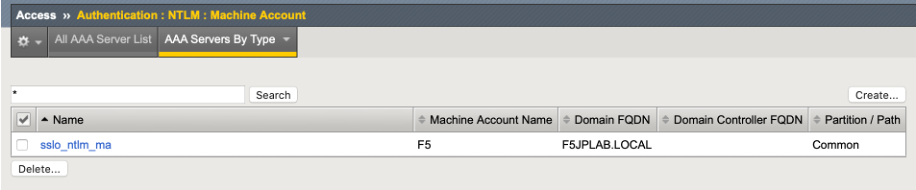
以下のようになります。
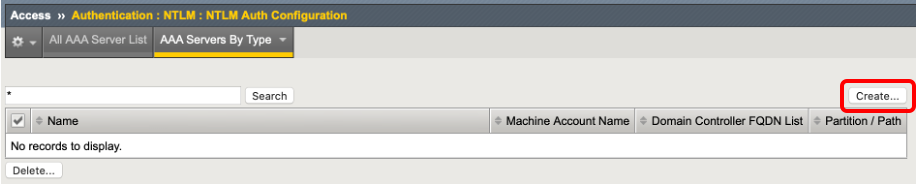
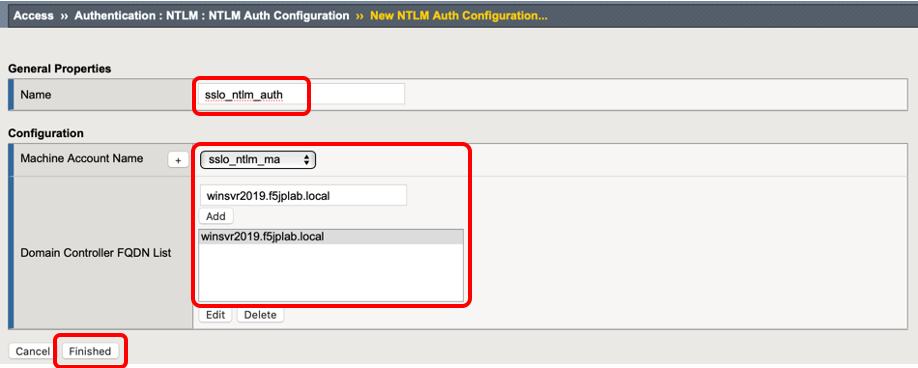
Access >> Authentication >> NTLM >> NTLM Auth Configuration を選択し、Create ボタンを押します。
任意の名前 を設定し、Machine Account Name は 先程作成したもの を選択します。Domain Controller FQDN List には ご利用のドメイン名(FQDN名) を指定し、Finished ボタンを押します。
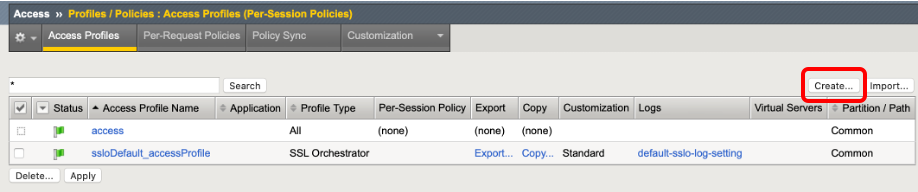
Access >> Profiles/Policies >> Access Profiles(Per-Session Policies) を選択し、Create ボタンを押します。
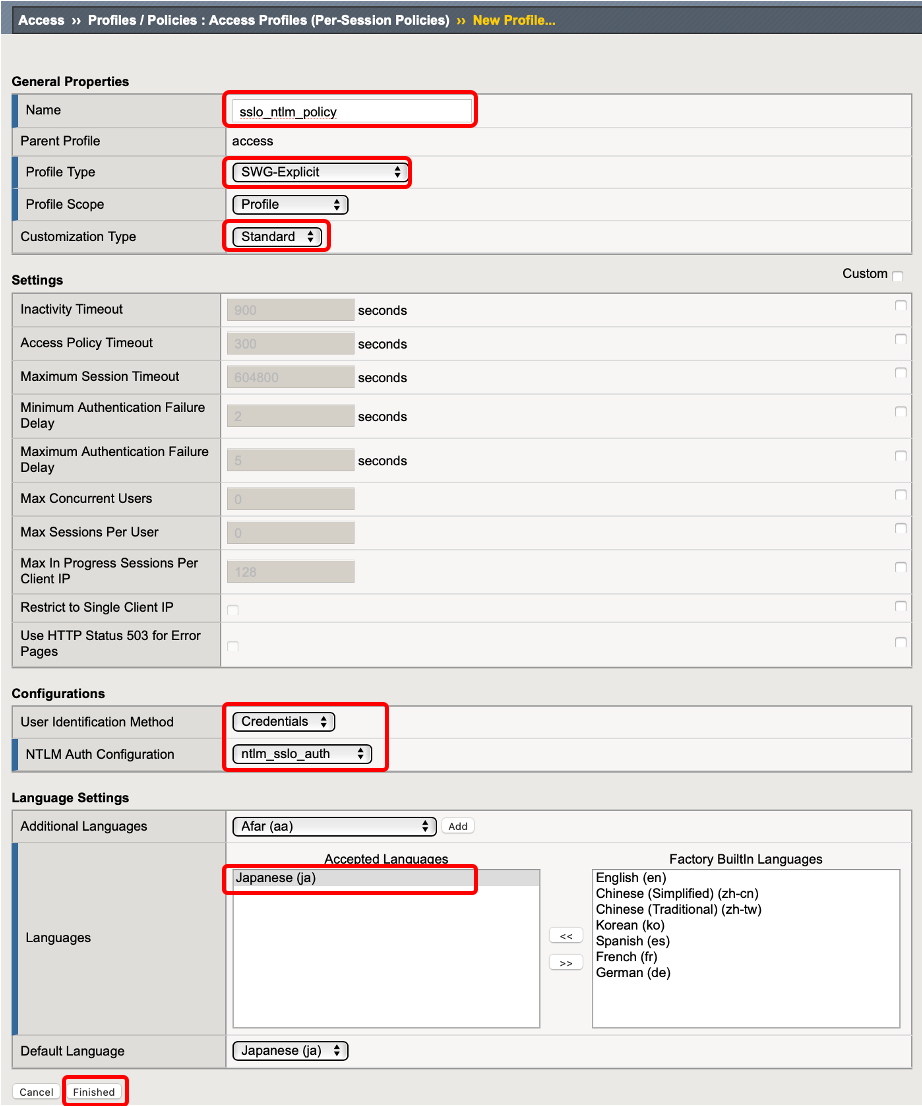
任意の名前 を設定し、Policy Type に SWG-Explicit を選択し、Customization Type に Standard を選択し、User Identification Method にて、Credential を選択し、NTLM Auth Configuration に 先程作成したもの を選択し、Languages は ご利用の言語 を選択して、Finished ボタンを押します。
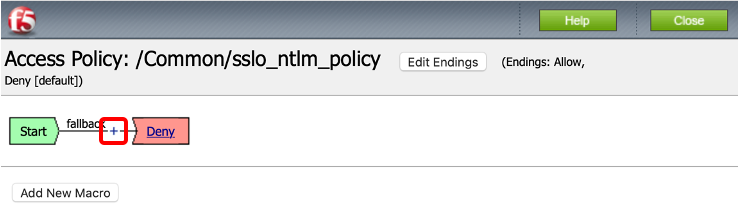
作成されたAccess Profileの一覧から先程作成したプロファイルを見つけ、Per-Session Policy欄の Edit を押します。

ブラウザの別タブにVPEが表示されます。Startの右隣の + ボタンを押します。
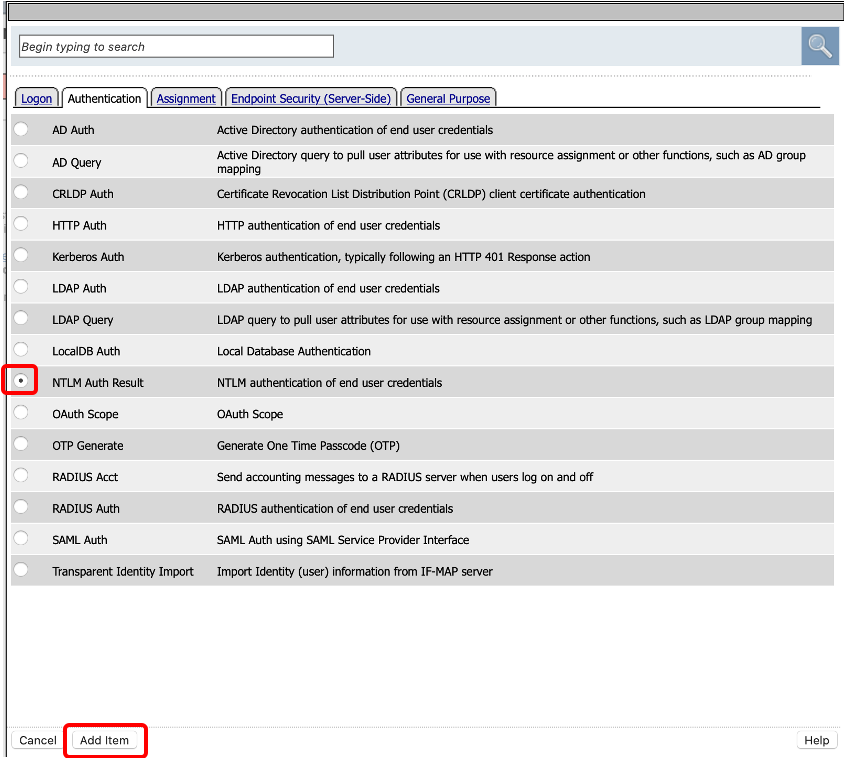
Authenticationタブの NTLM Auth Result を選択し、Add Item、Save を押します。
NTLM Auth Resultの右のSuccessfulにつながるフローを Deny から Allow に変更します。
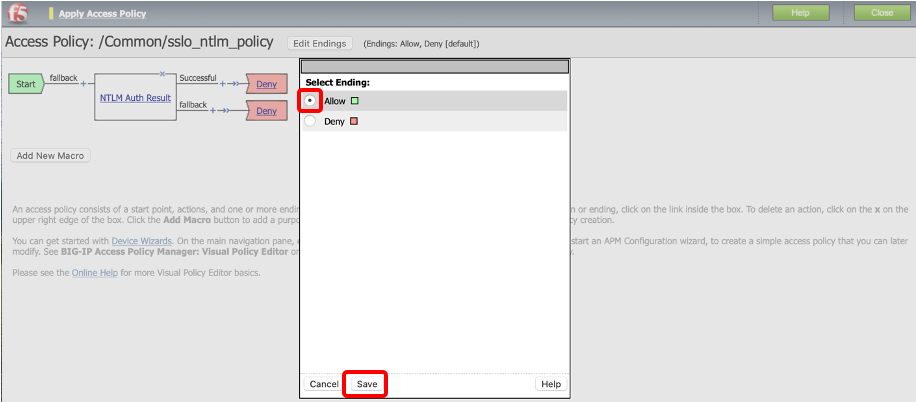
左上の Apply Access Policy を押し、ブラウザのVPEタブを閉じます。
